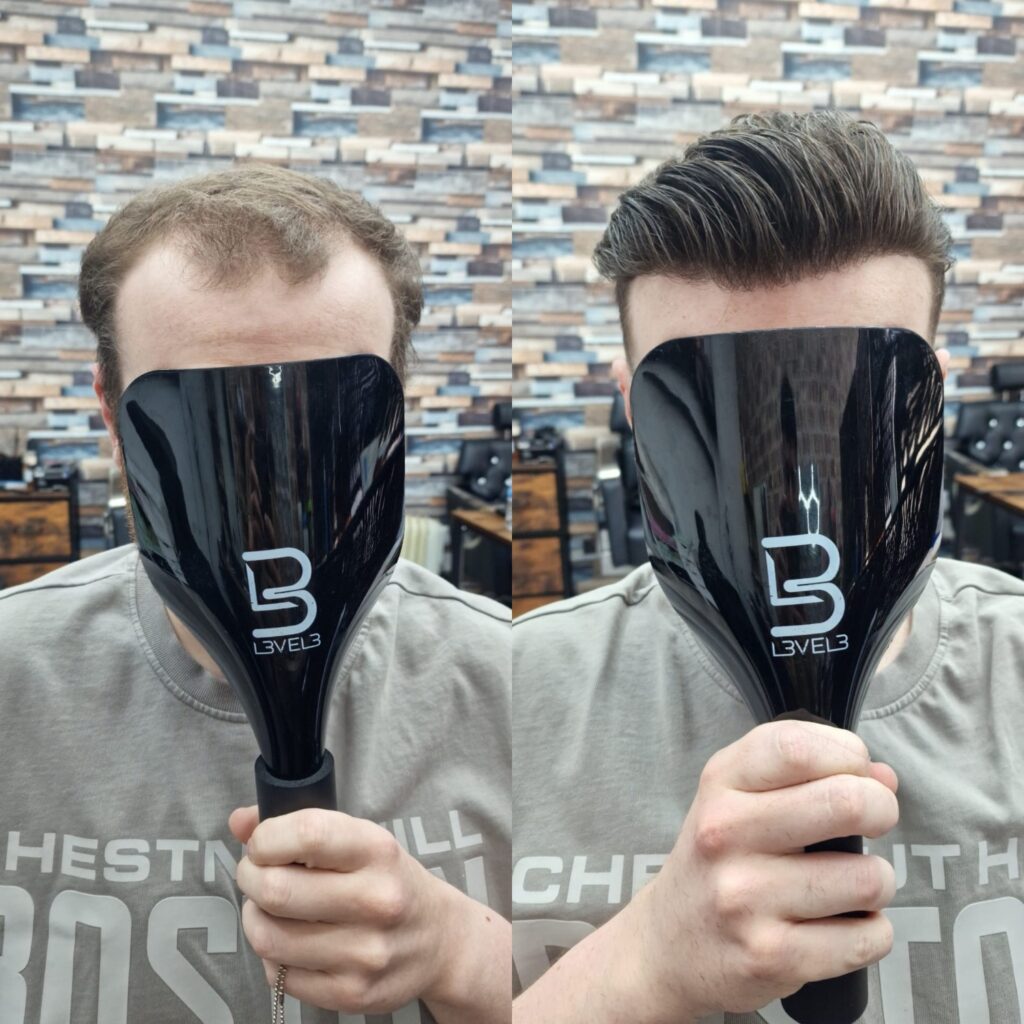
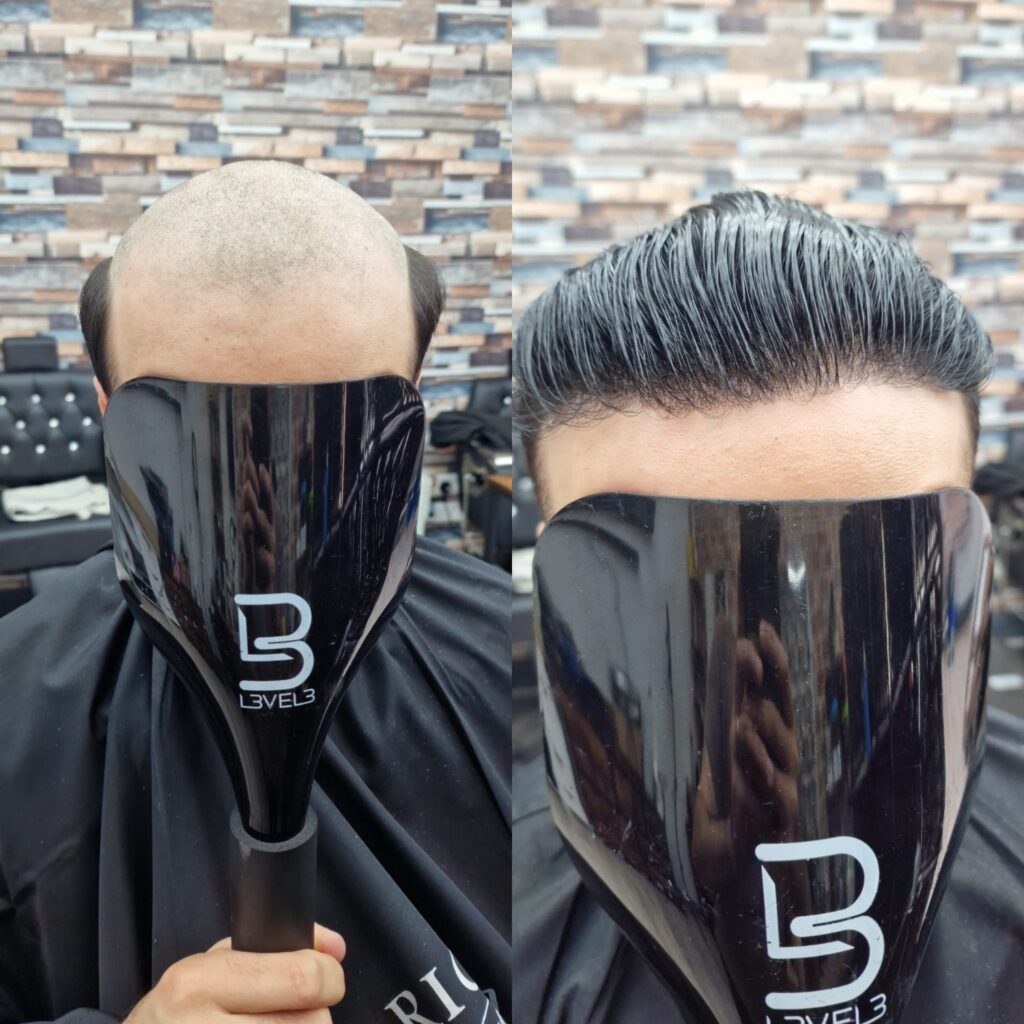
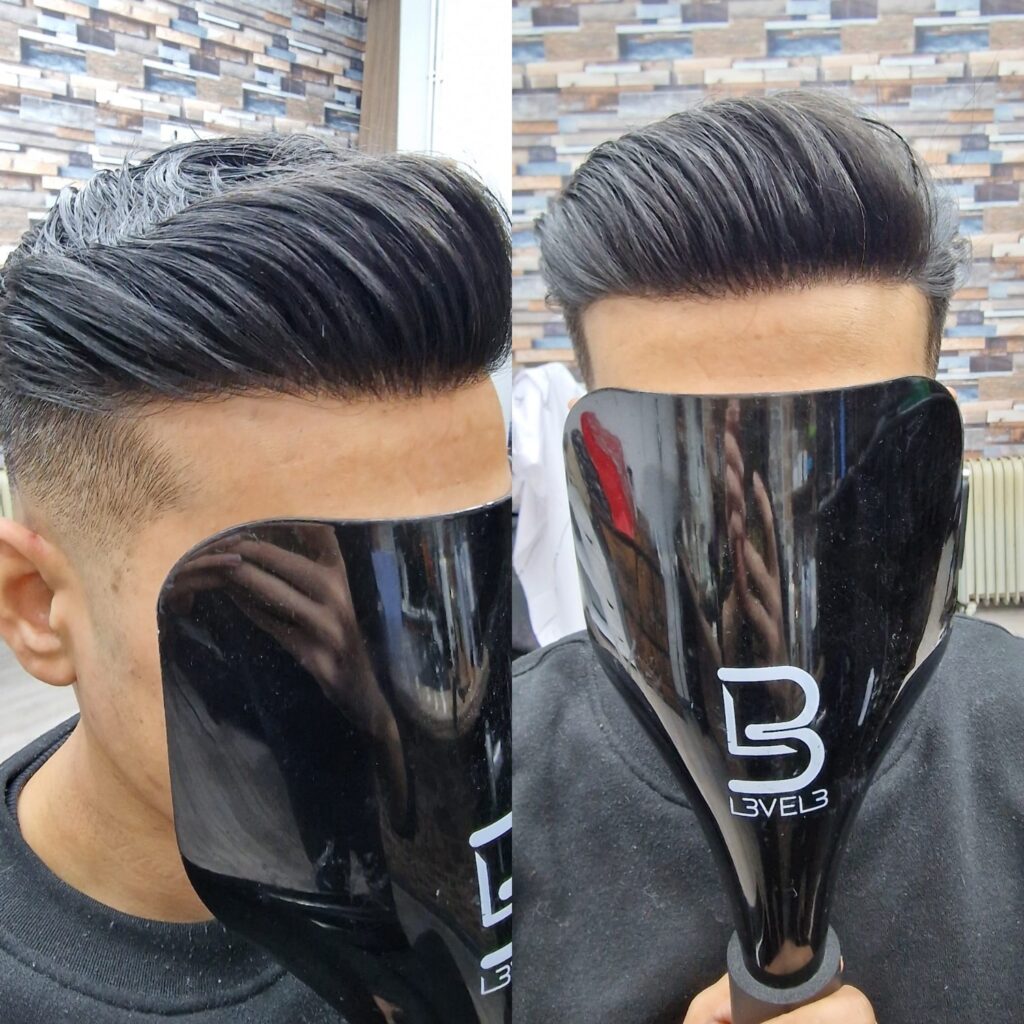
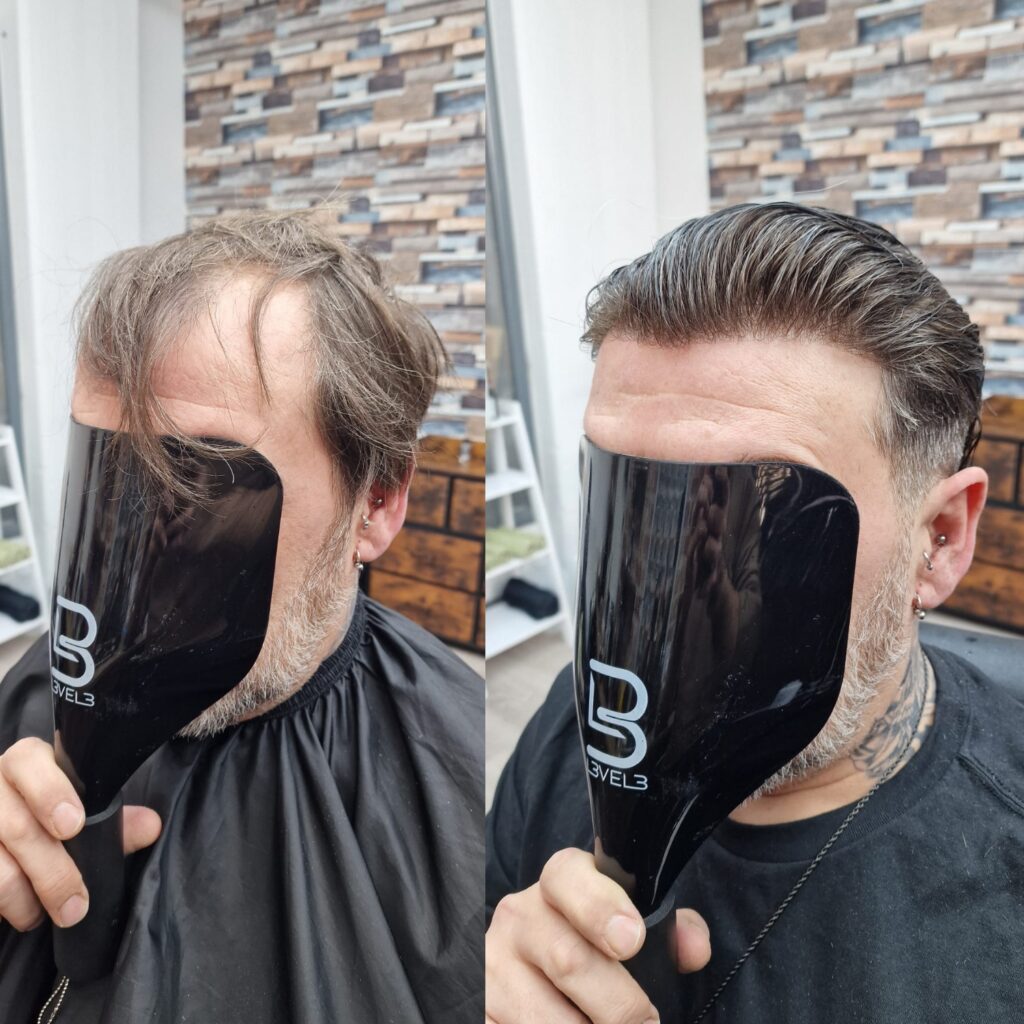
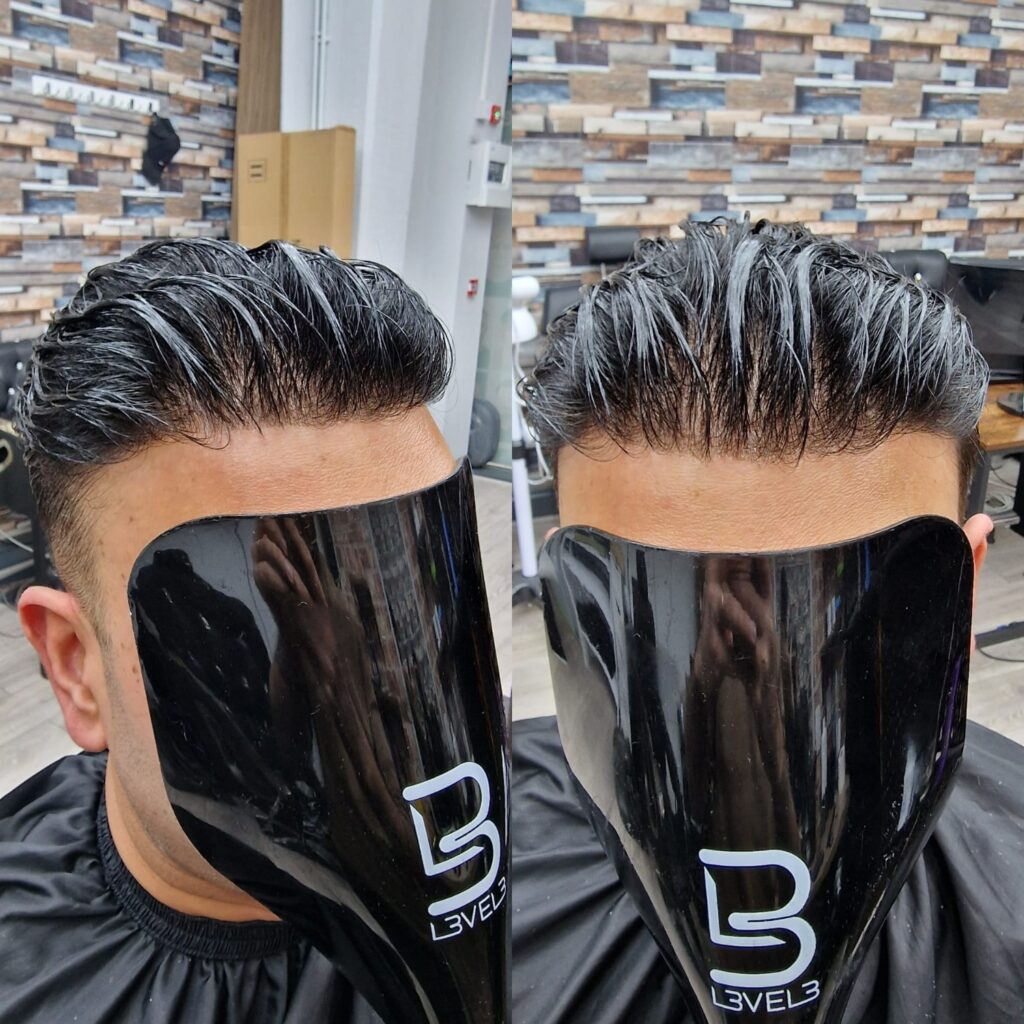
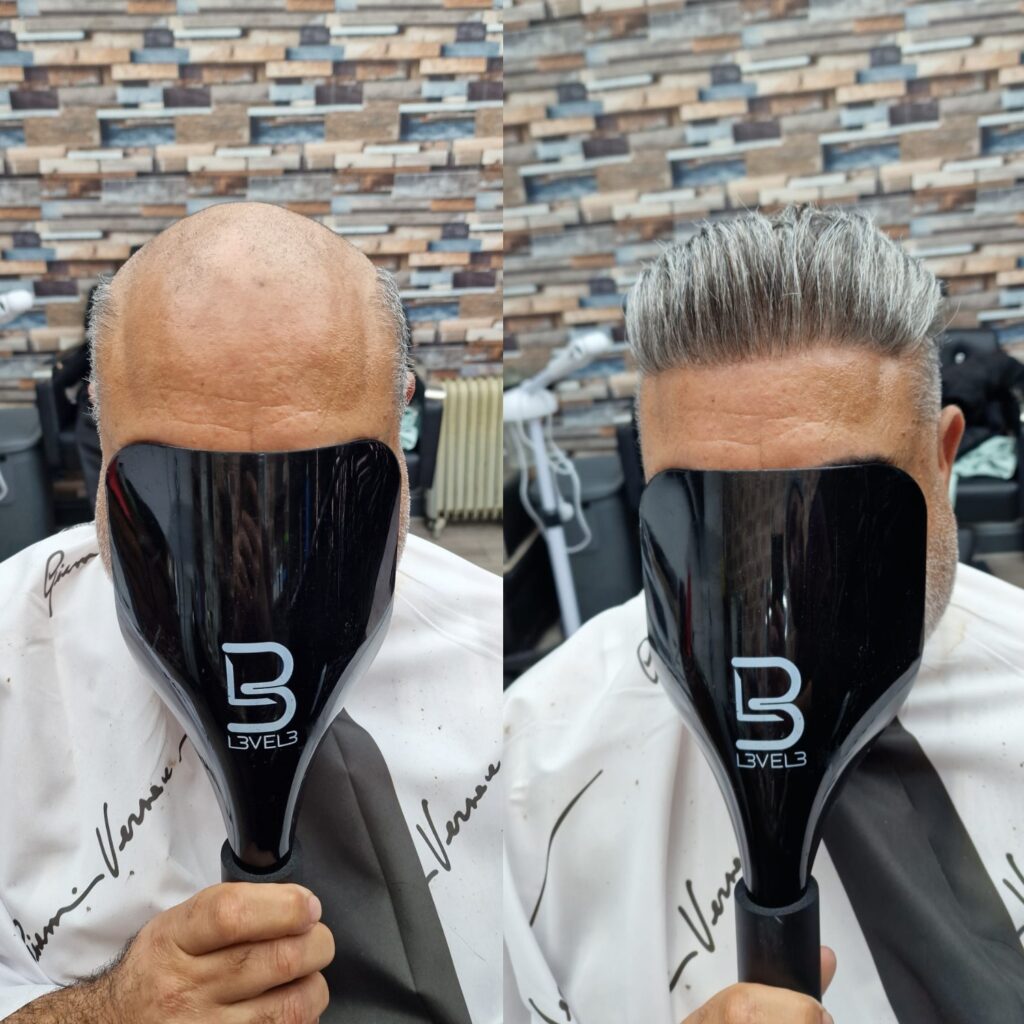
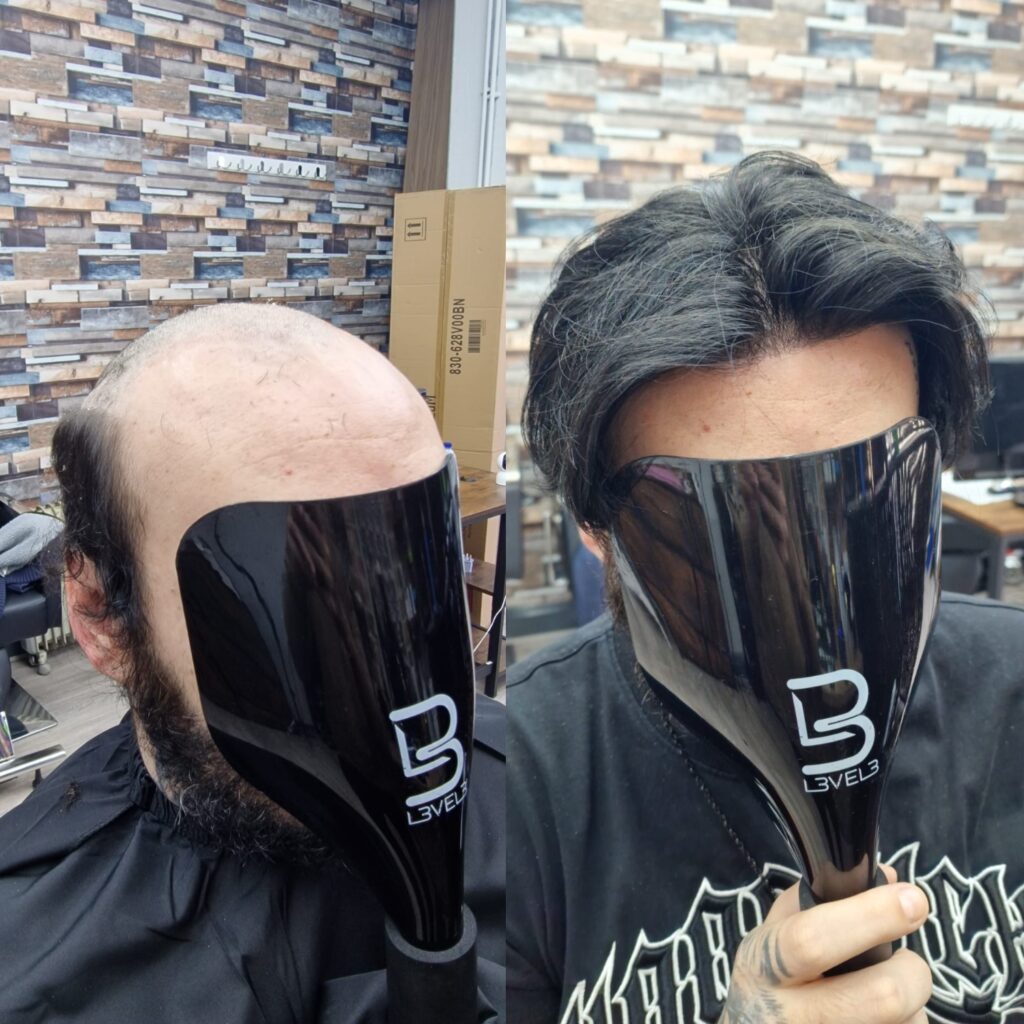
Applying a hair system at home is not difficult, but it is unforgiving of shortcuts. Nearly every messy application we are asked to rescue went wrong at the same three points: the scalp was not completely clean and dry, the adhesive went on thick, or the system was pressed down with fingers. Get those three right and the rest is routine.
This is the order we use in the salon for a new system fitting (there is more on how systems work on our hair replacement for men page) and at every maintenance visit, written for doing it yourself at home. Allow 40 minutes the first time and about 25 once you have done it twice.
What you need
- Adhesive remover (citrus or oil based for skin, solvent based for the system itself)
- A clarifying shampoo and a clean towel
- Scalp protector, and an alcohol based scalp cleanser
- Your adhesive: a liquid bond for an active life, or tape for an easier removal
- A light coloured eyebrow pencil
- A wide-tooth comb and a tail comb
- A mirror you can stand square to, with good light
Part one: prepare the scalp
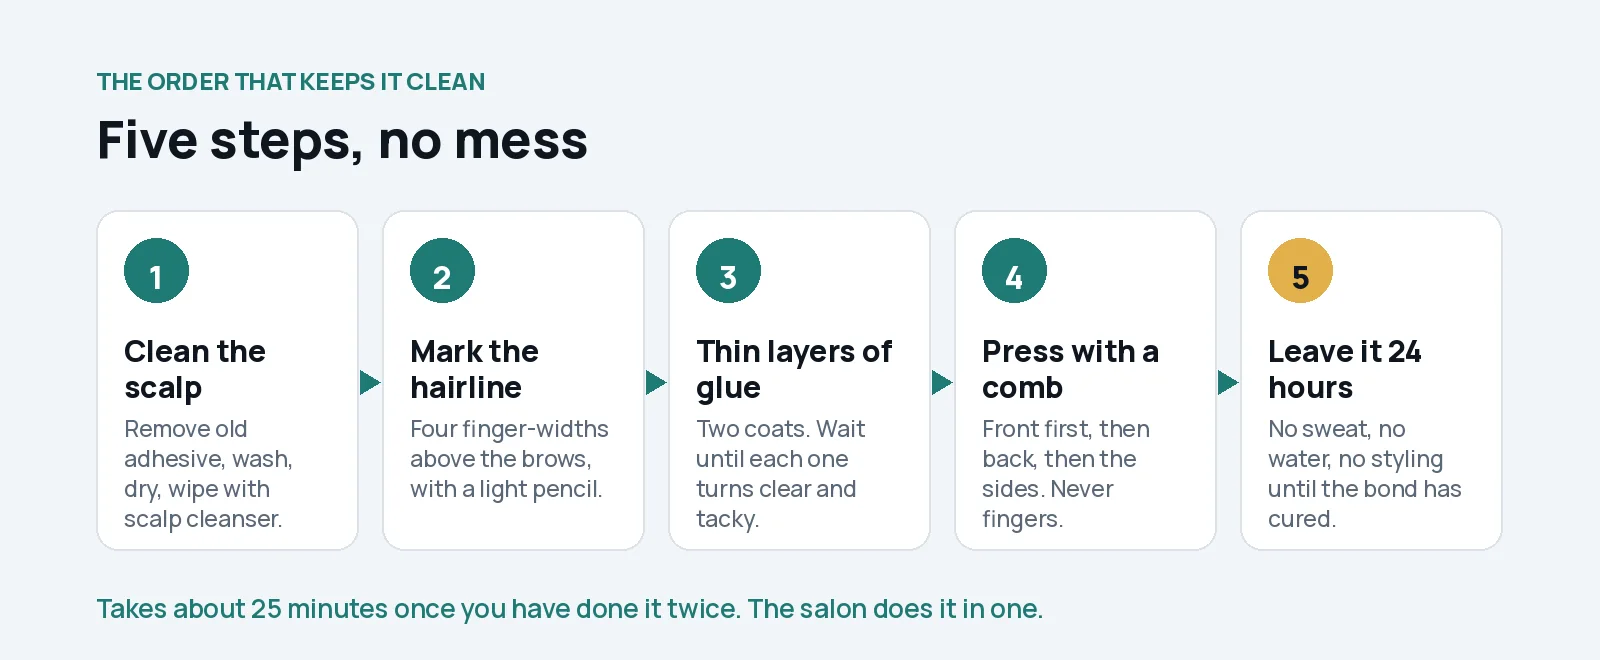
Step 1. Remove every trace of old adhesive
Soak the old bond with remover, wait a minute, and lift the system off from the back forwards, never by pulling the hairline. Work the remaining residue off the scalp with more remover and a cloth. If you can feel any tackiness with a clean fingertip, keep going; new glue will not hold over old glue. Clean the base of the system the same way and let it dry flat.
Step 2. Wash the scalp
Wash with a clarifying shampoo to strip oil and remover, rinse well, then wash once more. Do not use washing-up liquid or anything harsh: it makes the skin produce more oil over the following days, which weakens the bond. Shave or trim the bonding area so the adhesive meets skin, not stubble.
Step 3. Dry it completely
Towel, then a hairdryer on cool for a minute. Moisture is the single most common reason a home bond fails within a week. The skin should feel dry and slightly tight.
Step 4. Clean the bonding area
Wipe the perimeter two or three times with an alcohol based scalp cleanser and let it flash off. If your skin is easily irritated, once is enough. Then apply a thin layer of scalp protector over the same area and let it dry until it is no longer tacky; it protects the skin and gives the adhesive something even to grip.
Step 5. Mark the hairline
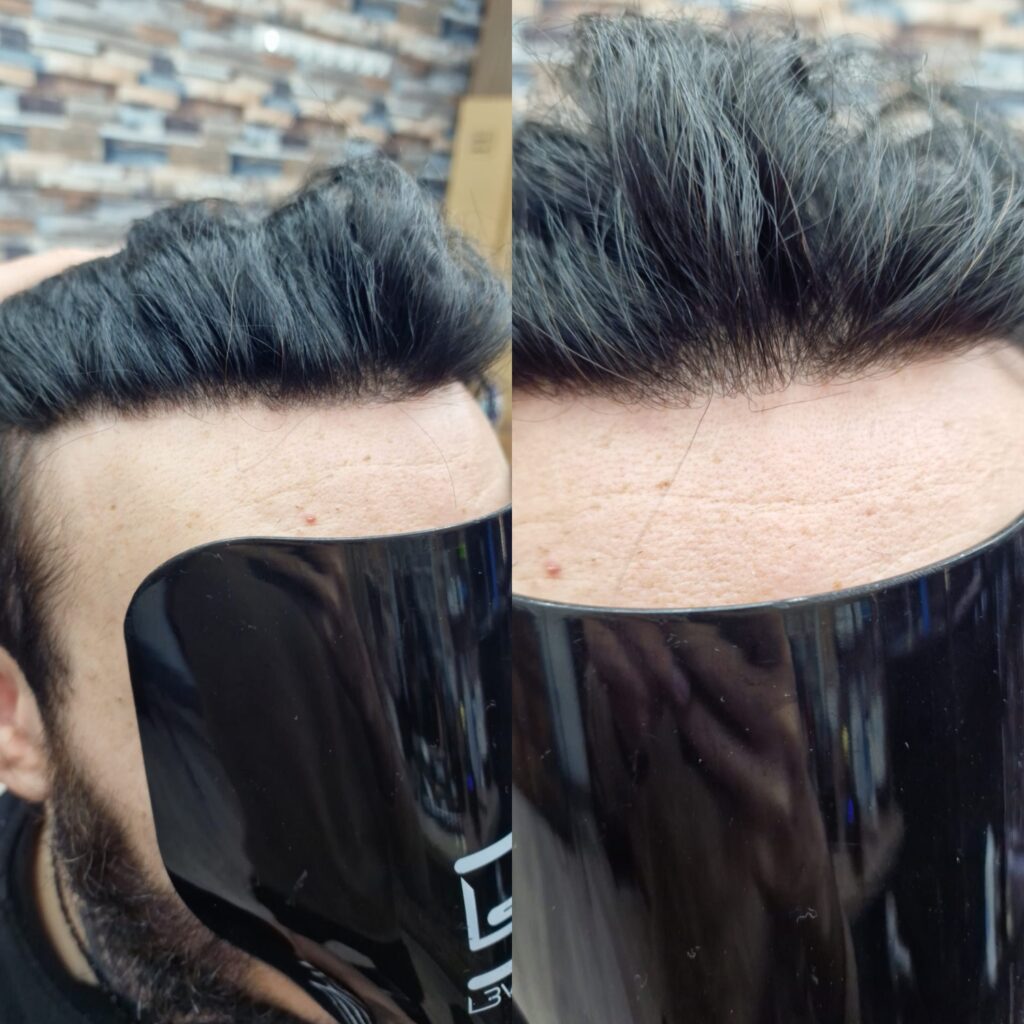
With the eyebrow pencil, put a dot at the centre of where the front of the system will sit, then one at each temple. For most men the centre sits about four finger widths above the eyebrows; a hairline set lower than that is the quickest way to make a system look like a system. Follow the natural curve of your forehead for the temple dots. If you had your system fitted by us, use the line we set at your fitting.
Part two: apply the adhesive
Step 6. Two thin coats, not one thick one
Brush the adhesive on in thin, even strokes, horizontally then vertically, up to the pencil marks but not over them. Let the first coat go fully clear before the second. A thick coat takes far longer to cure, oozes into the hair when pressed and is the main cause of the mess people describe. Two thin coats hold better than one thick one, every time.
Curing times at room temperature are roughly:
- Acrylic (solvent) based liquids: 10 to 15 minutes per coat until clear and tacky
- Silicone based liquids: 5 to 8 minutes
- Water based liquids: 3 to 5 minutes; they go on white and turn clear when ready
Humidity and a cold room slow all of them down. Never attach while any coat is still cloudy or wet.
Step 7. Position and press, with a comb
Hold the system by the back and sides, line the front up with the centre dot, then lower it from front to back. Once the front edge is down, press along it with the flat side of a tail comb, working outwards from the centre, then press the back and the sides. The comb spreads the pressure evenly and keeps oils from your fingers off the bond; fingers leave prints in the adhesive and push it up through the lace. Press firmly for about a minute all round.
Step 8. Leave it alone for 24 hours
No water, no sweating, no styling product near the perimeter and no hat for a day. The bond reaches full strength after 24 hours; most of the lifting people experience in the first week comes from skipping this step. After that, wash and style as usual: a properly cured bond is waterproof, so you sleep in the system, shower in it, swim in it and train in it like your own hair.
Using tape instead of liquid
Tape is cleaner and quicker, and easier to remove, at the cost of a shorter hold. It also suits a poly perimeter better than fine lace, which can show the tape edge (our guide to lace, poly and hybrid bases explains why). The prep is identical. Apply the tape to the base of the system, not the scalp, trim it to follow the perimeter, peel the backing a section at a time and press each section down with the comb before peeling the next. It is a good choice for someone new to systems or for anyone who removes theirs weekly.
If the bond fails early
Lifting within a few days almost always traces back to one of four things: moisture left on the scalp, old adhesive underneath, coats applied too thick, or the 24 hours not observed. Lift the loose section, clean the skin and the base back to bare, and re-apply that section only, thinly. If a bond fails twice in a row on a system that is more than four months old, the base has probably lost its grip rather than your technique; our guide to the signs a system needs a refresh explains what to look for.
Looking after the system between applications
Do: detangle with a wide-tooth comb before washing, use products made for hair systems, condition every wash, sleep on a silk or satin pillowcase, and rinse immediately after swimming.
Avoid: washing more than three times a week, hot water, massaging ordinary styling products into the base, and going to bed with damp hair.
When to let the salon do it
Plenty of our clients apply at home between visits and come to us every four to six weeks for a full service: removal, deep clean, scalp check, re-bond, cut and blend, 80 to 90 minutes for £70. If you bought a system online and want it fitted properly the first time, cut into your own hair and the hairline set, that is our bring your own system fitting at £150. Either way the first consultation is free, in the salon in Ilford or on WhatsApp.
Message us on WhatsApp Book online
Frequently asked questions
How do I apply a hair system without getting glue in the hair?
Thin coats of adhesive, fully cured until clear, and pressing with the flat of a comb rather than fingers. Thick, wet adhesive is what pushes up through the lace and into the hair.
How long does a home application last?
A liquid bond on a clean, dry scalp holds one to three weeks depending on the adhesive and how much you sweat; tape typically a few days to a week. A salon re-bond with professional products usually holds four to six weeks.
Can I shower the same day?
No. Keep the bond dry and sweat-free for 24 hours. After that, wash and shower as normal.
How do I clean a hair system at home?
Detangle with a wide-tooth comb, rinse in lukewarm water, press a hair-system shampoo through the hair without scrubbing, rinse, then a light conditioner kept away from the base. Air dry on a stand.
Is a liquid adhesive better than tape?
Liquid holds longer and copes better with sweat and water, which suits an active life. Tape is cleaner, quicker and easier to remove. Many wearers use liquid at the front for the hairline and tape at the back.